
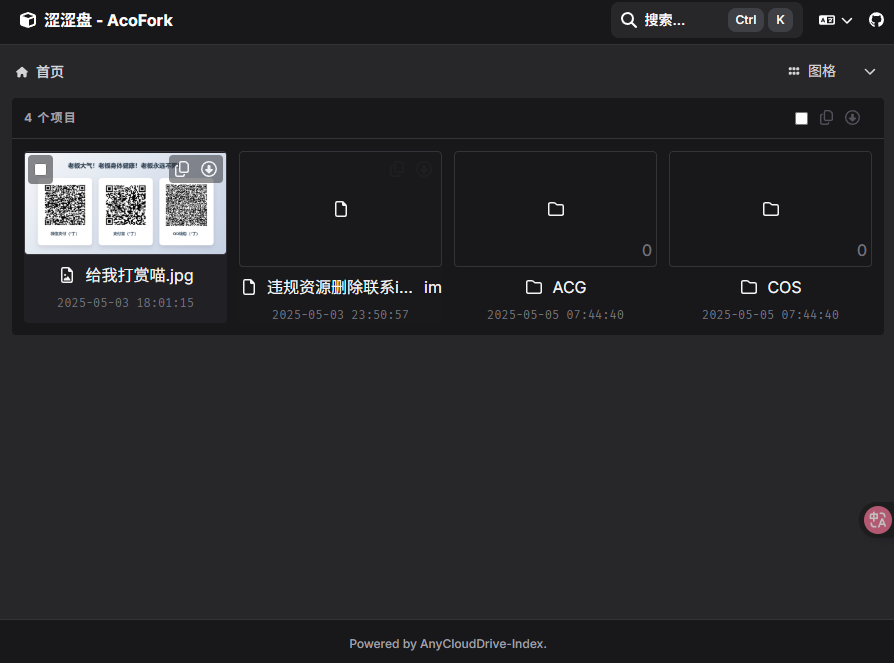
让Vercel对接你的S3对象存储(仅下载)
2025-05-05
可能很多小伙伴都使用过对象存储,但是他们大部分都没一个图形界面,虽然近年来有了AList这么一个非常全能的服务,但是仍然需要独立服务器,本篇将使用Vercel Function搭建一个精美的S3文件下载
152 字
|
1 分钟

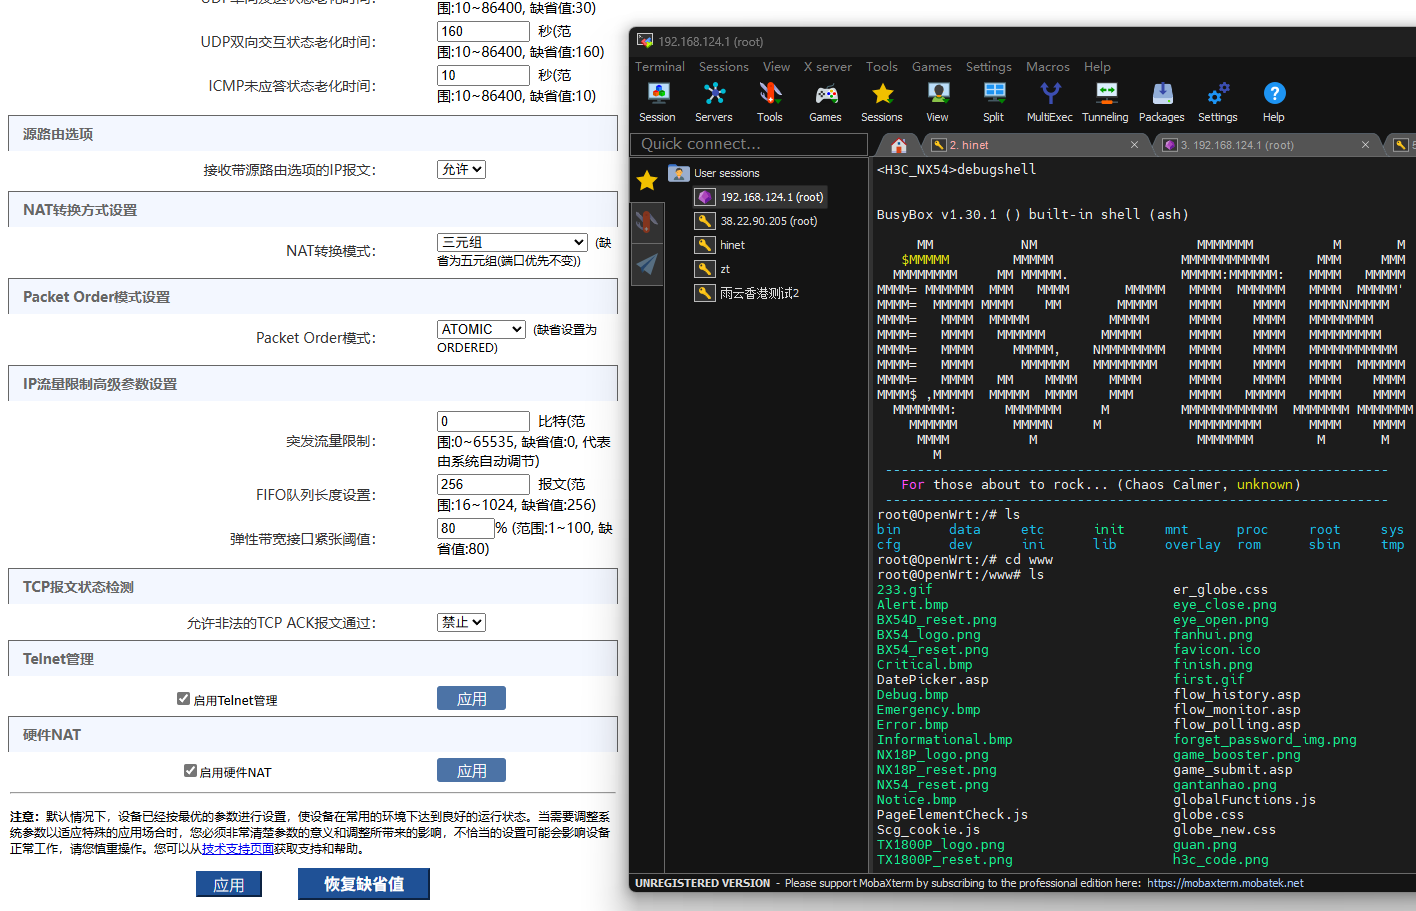
关于我对路由器瞎改一通让网速变快了这档事
2025-05-02
我家是H3C路由器,虽然他是OpenWRT的系统,但是却没法直接刷成iStoreOS,但是偶然一天,我发现他有Telnet,于是...
1097 字
|
5 分钟
Fuwari静态博客搭建教程
2025-04-30
Fuwari是一个静态博客框架,Cloudflare Pages是一个托管静态网站的服务,将他俩结合即可得到一个快速安全无需托管的高效博客
2061 字
|
10 分钟