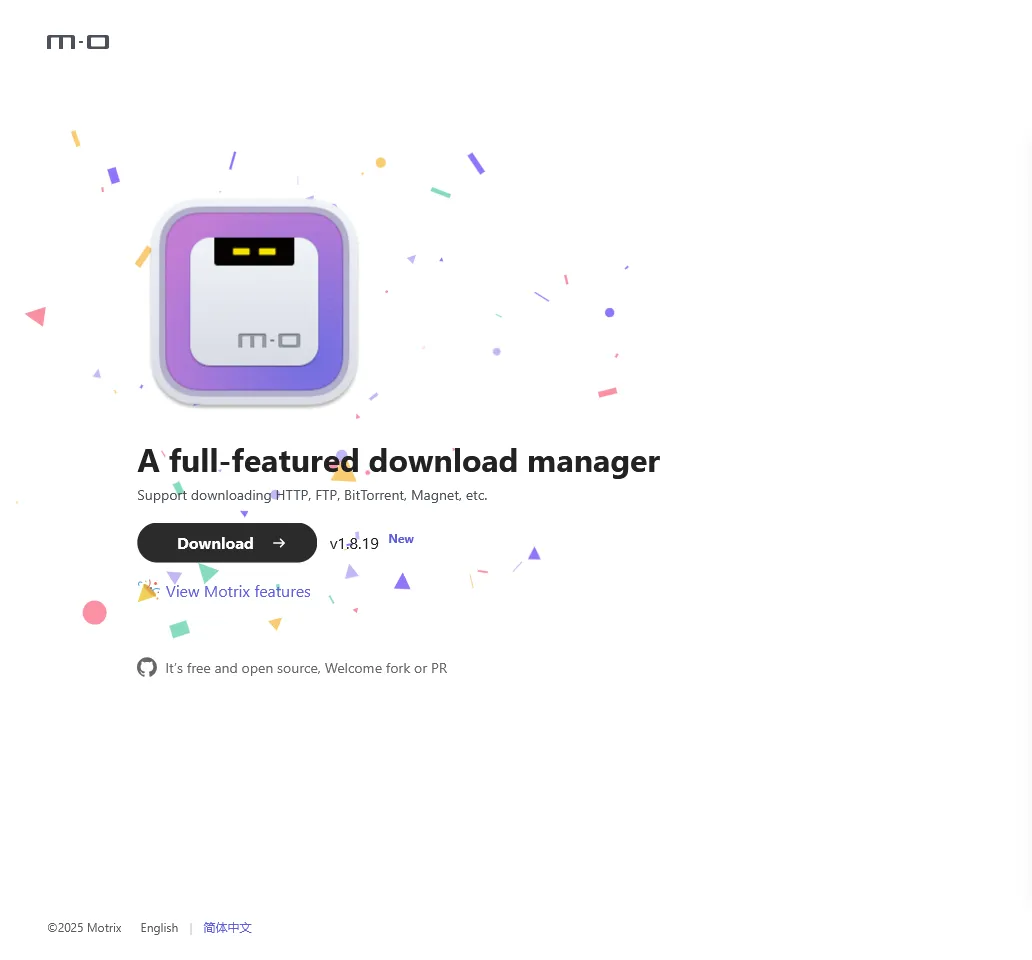
浏览器自带下载慢?你需要一个三方下载器Mortix!
2025-05-26
经常使用Chromium的同学都知道,使用浏览器自带的下载模块经常没有速度,而这个时候我们便需要使用一些三方下载器,而本期推荐的Motrix是免费的开源的博主本人也在使用的高性能高颜值简约强大的下载器
277 字
|
1 分钟
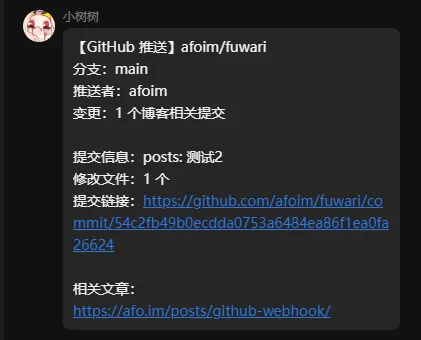
利用Github Repo WebHook来为你的订阅者推送文章更新信息
2025-05-19
针对于静态博客,博主在文章更新后一般需要手动通知订阅者阅读新的文章,本文通过Github WebHook来实现一个全自动的文章更新通知实现
364 字
|
2 分钟

让Vercel对接你的S3对象存储(仅下载)
2025-05-05
可能很多小伙伴都使用过对象存储,但是他们大部分都没一个图形界面,虽然近年来有了AList这么一个非常全能的服务,但是仍然需要独立服务器,本篇将使用Vercel Function搭建一个精美的S3文件下载
152 字
|
1 分钟